
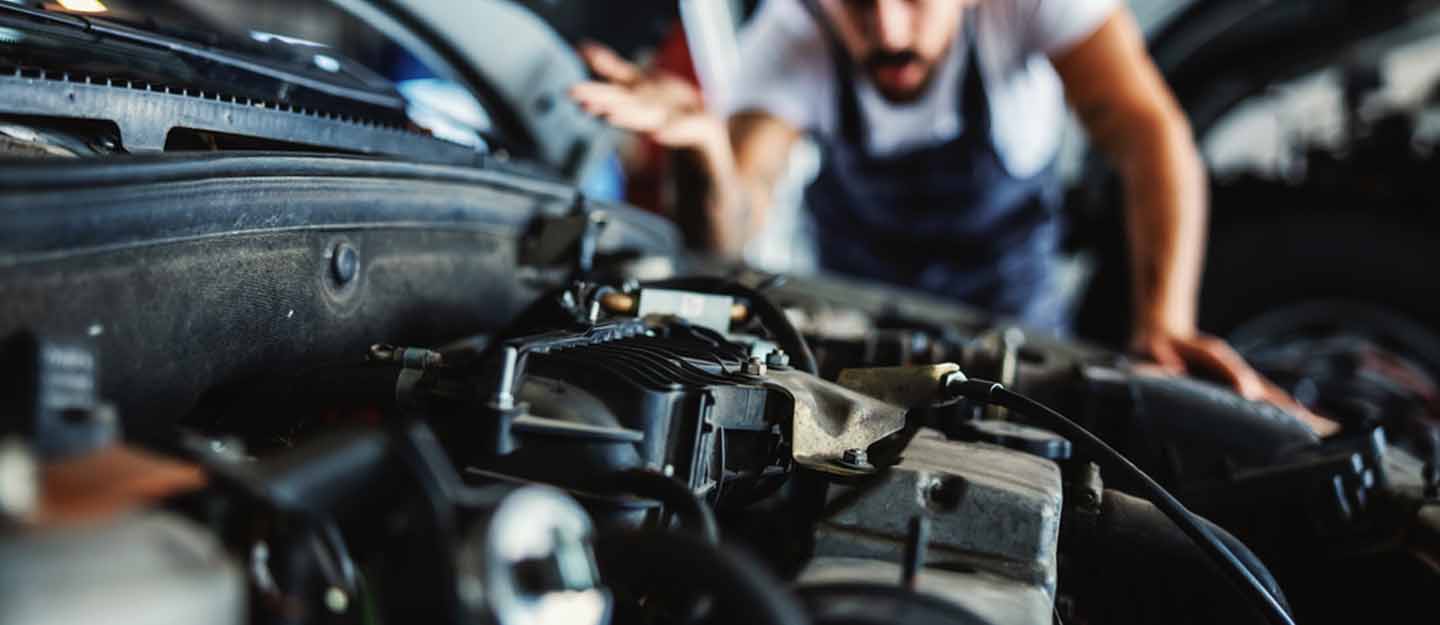
Engines are the heart of our vehicles, powering us through life’s adventures. However, a locked-up engine can put a sudden halt to those journeys, leaving you stranded in a whirlwind of frustration. But fear not! This guide will take you through the intricate and often daunting process of fixing a locked-up engine, step by step. Buckle up, and let’s dive into the world of automotive repair!
Understanding a Locked-Up Engine
Before we embark on the repair process, it’s essential to understand what a locked-up engine is. A locked-up engine occurs when the internal components of the engine seize, preventing the crankshaft from turning. This can be caused by several factors:
- Oil Starvation: Lack of lubrication can lead to friction and overheating.
- Severe Corrosion: Rust can form inside the engine, especially if the vehicle has been sitting idle for a long time.
- Broken Components: A failure in internal parts, such as a broken connecting rod, can also cause the engine to lock up.
Step 1: Gather Your Tools
Before you begin, ensure you have the necessary tools at your disposal:
- Wrench Set: For removing various engine components.
- Sockets: To loosen bolts and nuts.
- Screwdrivers: Phillips and flathead for various screws.
- Oil and Lubricants: To help free up the engine components.
- Safety Gear: Gloves, goggles, and a face mask for protection.
- Shop Manual: For specific guidance on your vehicle model;
Step 2: Safety First!
Before diving into the repair, ensure your safety and that of others:
- Park the vehicle in a safe, well-ventilated area.
- Disconnect the battery to prevent any electrical hazards.
- Allow the engine to cool down completely if it has been running.
Step 3: Assess the Situation
Now that you’re safe, it’s time to investigate the problem:
- Try to turn the engine manually using a socket wrench on the crankshaft bolt. If it doesn’t budge, it’s locked.
- Check the oil level and condition. If it’s low or dirty, this could be a clue.
- Inspect for any visible damage, such as leaks or broken components.
Step 4: Attempt to Free the Engine
Here comes the moment of truth! Let’s see if we can unstick the engine:
- Add Penetrating Oil: Pour a generous amount of penetrating oil into the spark plug holes or the oil filler cap. Allow it to sit for several hours or overnight.
- Gently Tap the Engine: Use a rubber mallet to lightly tap the engine block. This can help to break any rust or corrosion that might be causing the lock-up.
- Try to Turn Again: After allowing the oil to work its magic, try turning the crankshaft again.
Step 5: Remove the Cylinder Head
If the engine remains locked, it’s time to go deeper:
- Carefully remove the cylinder head bolts using your wrench set.
- Lift off the cylinder head to inspect the internal components.
- Look for signs of damage, such as broken pistons or rust.
Step 6: Repair or Replace Damaged Components
Depending on your findings, you may need to repair or replace certain components:
- Pistons: If damaged, they will need to be replaced.
- Rings: Worn rings can cause compression issues and may need replacement.
- Bearings: Check for wear and replace if necessary.
Step 7: Reassemble the Engine
Once repairs are made, it’s time to put everything back together:
- Replace the cylinder head, ensuring a proper seal with a new gasket.
- Reattach all bolts and components securely.
- Refill the engine with fresh oil.
Step 8: Test Your Work
It’s time to see if your efforts paid off:
- Reconnect the battery.
- Attempt to start the engine. Listen for unusual noises.
- Check for oil leaks and monitor the oil pressure.
Fixing a locked-up engine can be a challenging task, but with patience and the right tools, it’s certainly achievable. Remember that sometimes, a locked engine may signal deeper issues requiring professional assistance. If your efforts don’t yield results, don’t hesitate to consult a mechanic. Happy repairing, and may your engine roar back to life!